Introduction to Web Development
Welcome to your first web development project! In this project we will go through many aspects of basic web development and how they work together to make a complete and pretty looking website with many interactable features.
Learning Goals
- Good file structure for your website
- index.html
- Resource Folders
- Starting an .html file
- What all html pages should have
- Changing the title of your page
- Body elements for your website
- Headers, paragraphs, tables, lists, text formatting, etc
- Multiple Pages
- CSS Basics
- Stylesheet.css
- Common element style
- Advanced CSS
- CSS Class VS. ID
- Floating Top Menu
<HTML>
Getting Started
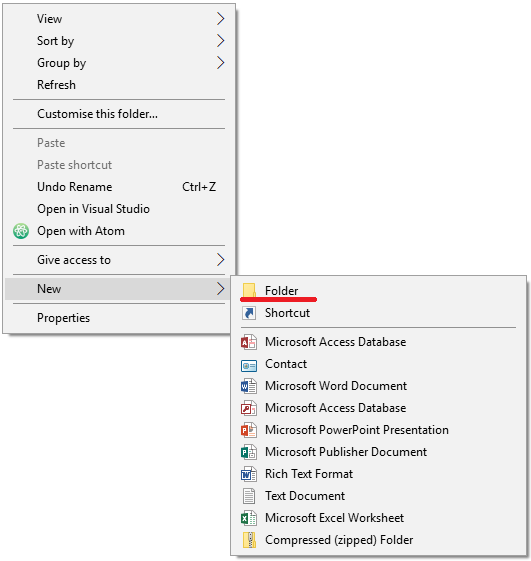
You may have done some HTML and CSS in CodeCombat, but this is to show you what it looks like when it's not in a game. The first important thing to keep in mind, is that you have to have a project folder for your site.
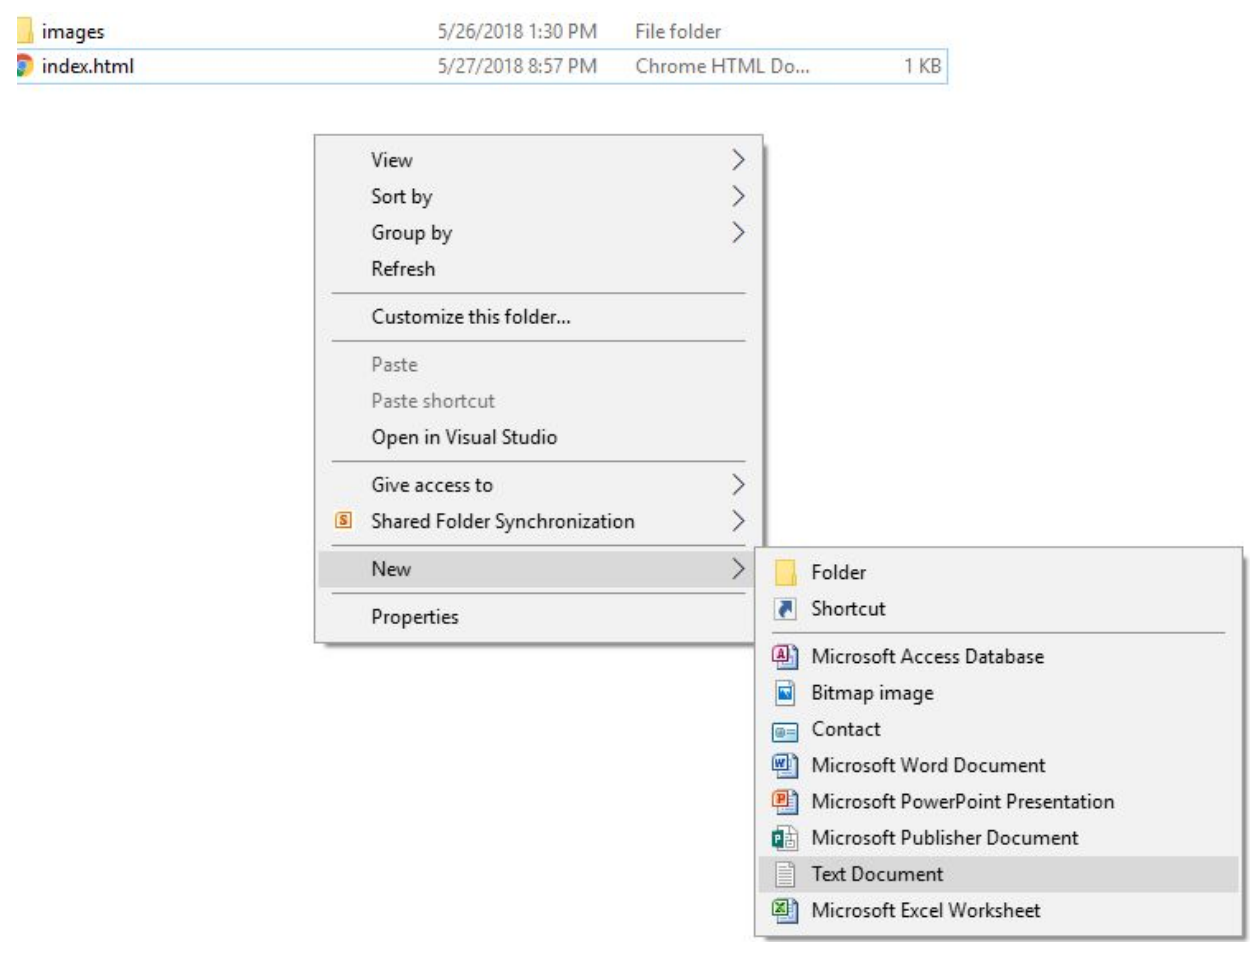
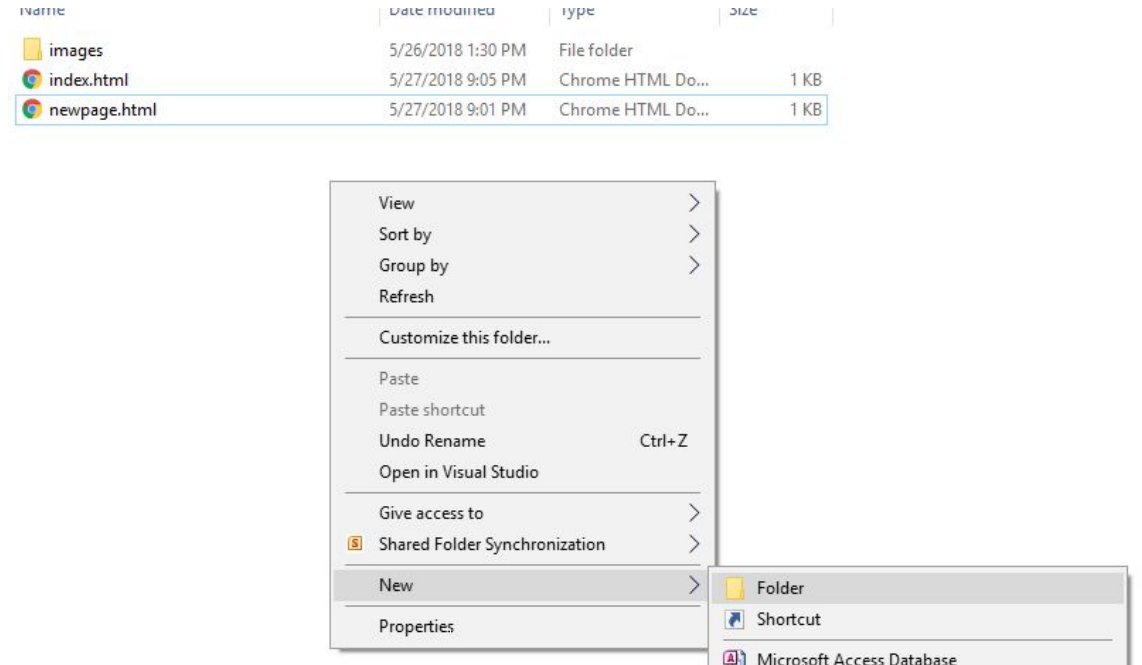
Creating website folder
Find where you would like to place your project folder. We suggest that you do this in your ready share folder. Right Click to open the context menu -> Hover over "New" -> Press on "Folder".
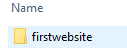
Rename the folder to
Files
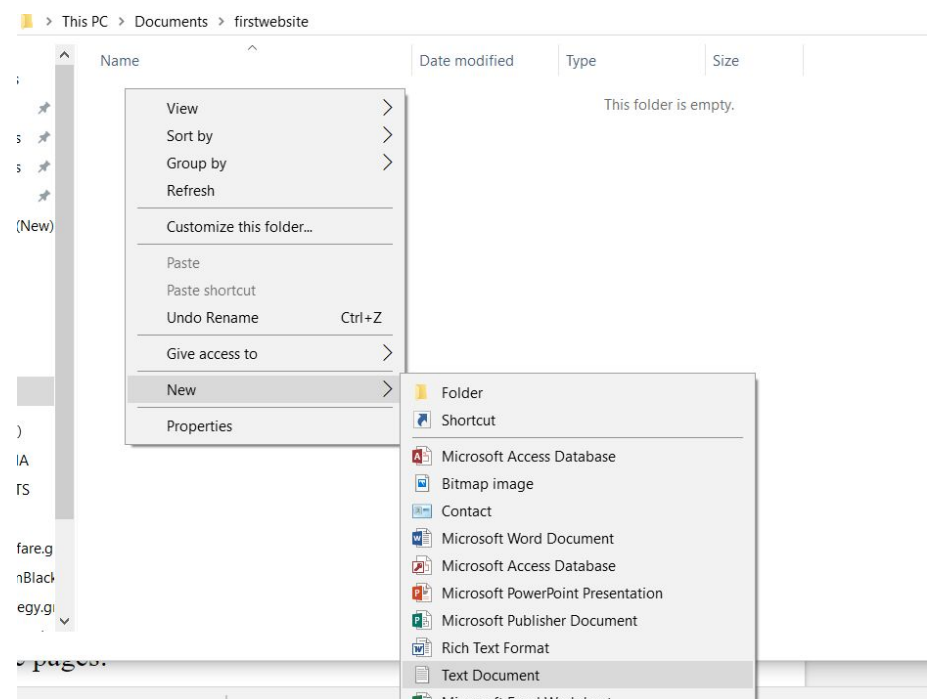
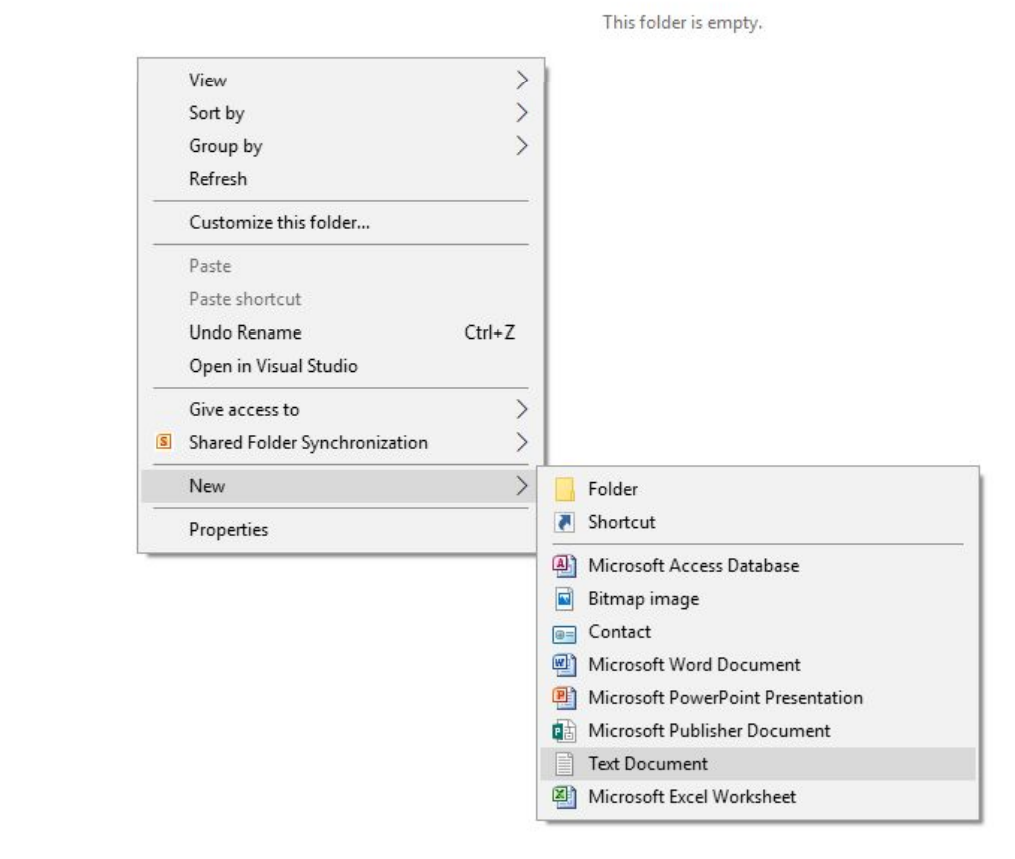
In any coding project, there is always that starting point where your project will go to first to run code. In websites, that's called "index." The index file is the first page that should open if someone were to go to your site.
Creating index.html file
Inside your "firstwebsite" folder, right click and create a new text file.
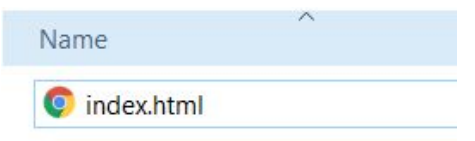
Rename the file to say
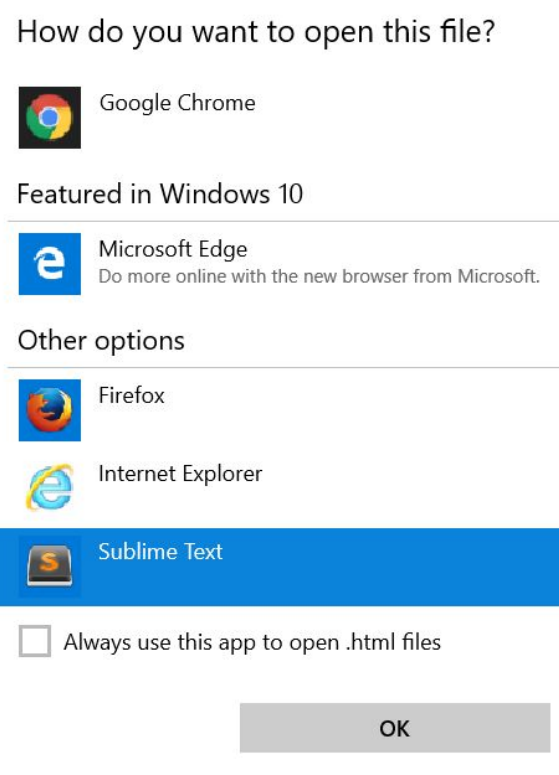
How to edit
Awesome! If you double click on that file, you should see that opens a new page on your browser. You should also notice that page is blank... That is because we have to add code to it.
Coding your webpage
Right click on your index file and select
"Open with -> Choose another app".
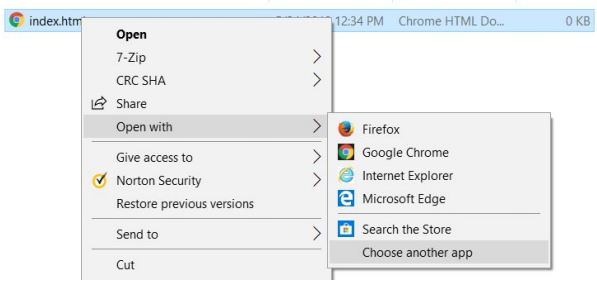
Find  If you're having trouble finding it, ask an
instructor to help you (it won't always show here).
If you're having trouble finding it, ask an
instructor to help you (it won't always show here).
Hello World
First steps
  <!DOCTYPE html>
  <html>
    <head>
      <meta charset="utf-8">
      <title></title>
    </head>
    <body>
      Hello, World!
    </body>
  </html>
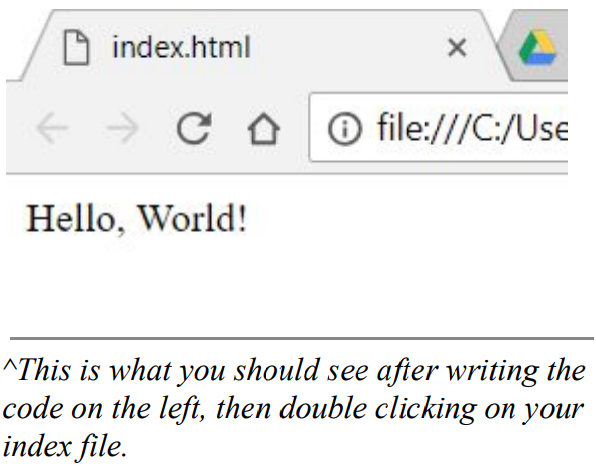
The code in the HTML tab is your standard HTML structure.
Click on the "Result" tab to see what it should look like.
<!DOCTYPE html> specifies you are using HTML5 (the latest version of HTML).
<html></html> code between here is HTML code (as opposed to CSS, Javascript, etc)
<head></head> code between these tags are your "meta" information
<meta charset="utf-8"> allows special characters not found on every keyboard.
<body></body> where your primary code goes.
When you were doing CodeCombat, you were always in the <body> tag.
<title>
If you notice on your new page, it says "index.html". That is rather ugly and unprofessional, thankfully HTML has a quick fix for that.
<!DOCTYPE html>
<html>
  <head>
    <meta charset="utf-8">
    <title>My Website!</title>
  </head>
  <body>
    Hello, World!
  </body>
</html>
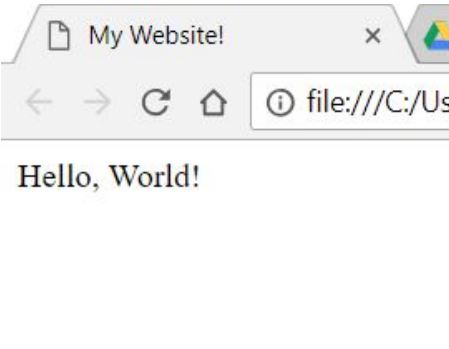
<title></title> is an element that defines what you see on the
browser tab. Notice (on the results tab), that it now says "
Body
Now that we have gotten that out of the way, we are going to see the many different elements you can add to your website. Each example will be separate code, so dont worry that what is done in one section won't appear in the next.
Headers <h1>
Headers are useful in web development for your readers to know when you've moved from one category to the next. There are 6 levels of headers, as they get lower in the level, the smaller they get.
Header Elements <h1>
Remember that your code must be in between the
<body></body> tags.
The best time to use header tags is when you want separate categories,
you would follow a header tag with a paragraph tag (covered in next section).
Paragraphs <p>
Paragraph tags are the most common tag that you will use, as they are a good standard size to write "paragraphs" of information.
Paragraph Element <p>
See how the header explains what is about to happen, and the paragraph gives more information about it? This is how you should structure your tags when writing websites
Bold, Italic, Underline
There are times when you want to add emphasis in your text. That can be bold, Italic, underline, and other things.
There are many other things that you can do, but these are some of the very common ones.
Text Styles! <b> <i> <u>
Lists <ol>
We sometimes want to organize our thoughts in a nice list. An ordered list is when you have them numbered, while an unordered list is just a bunch of bullet points.
List Element <ol>
<ul></ul> list items between these tags will be "unordered", and they will begin with a bullet
point.
<ol></ol> list items between these tags will be "ordered", and they will be numbered starting
at 1.
<li></li> list item tags that go in between the ordered or unordered list.
Tables <table>
This is a more outdated tag that is rarely used in practical use, however there are still occasions when they can be useful. Tables use headers, rows, and data to separate the information in a way that is clean and easy to read.
Table Element <table>
<table></table> creates your table the
style="width=100%" is CSS code that you
don't need to worry about until later in this
lesson.
<tr></tr> is the table row for your data.
<th></th> is the table header, generally at the
top of your table to show what columns will
be in the table.
<td></td> is table data for regular records.
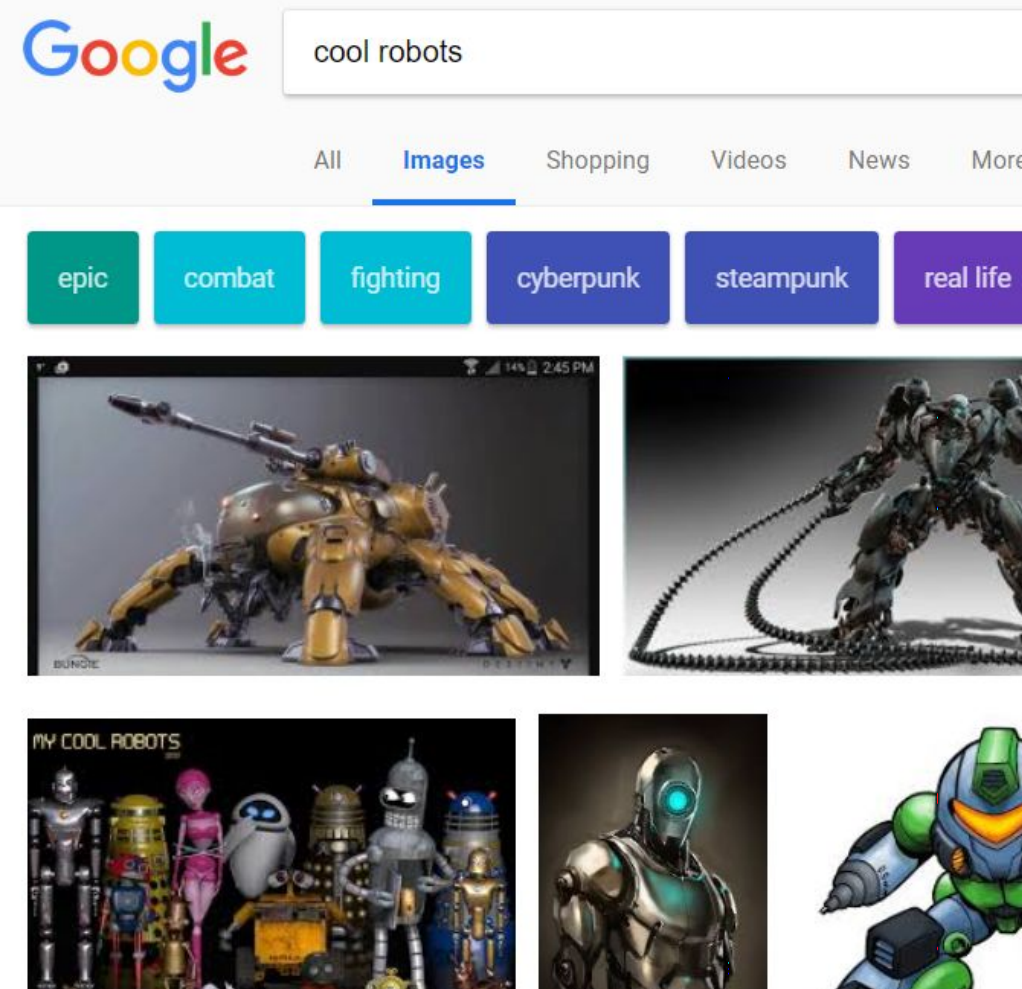
Images <image>
Just text in a website can look rather boring, so we're going to spice it up by placing images into the page.
Image element <image>
Go and search up whatever you'd like to add into your page.
Right click on image
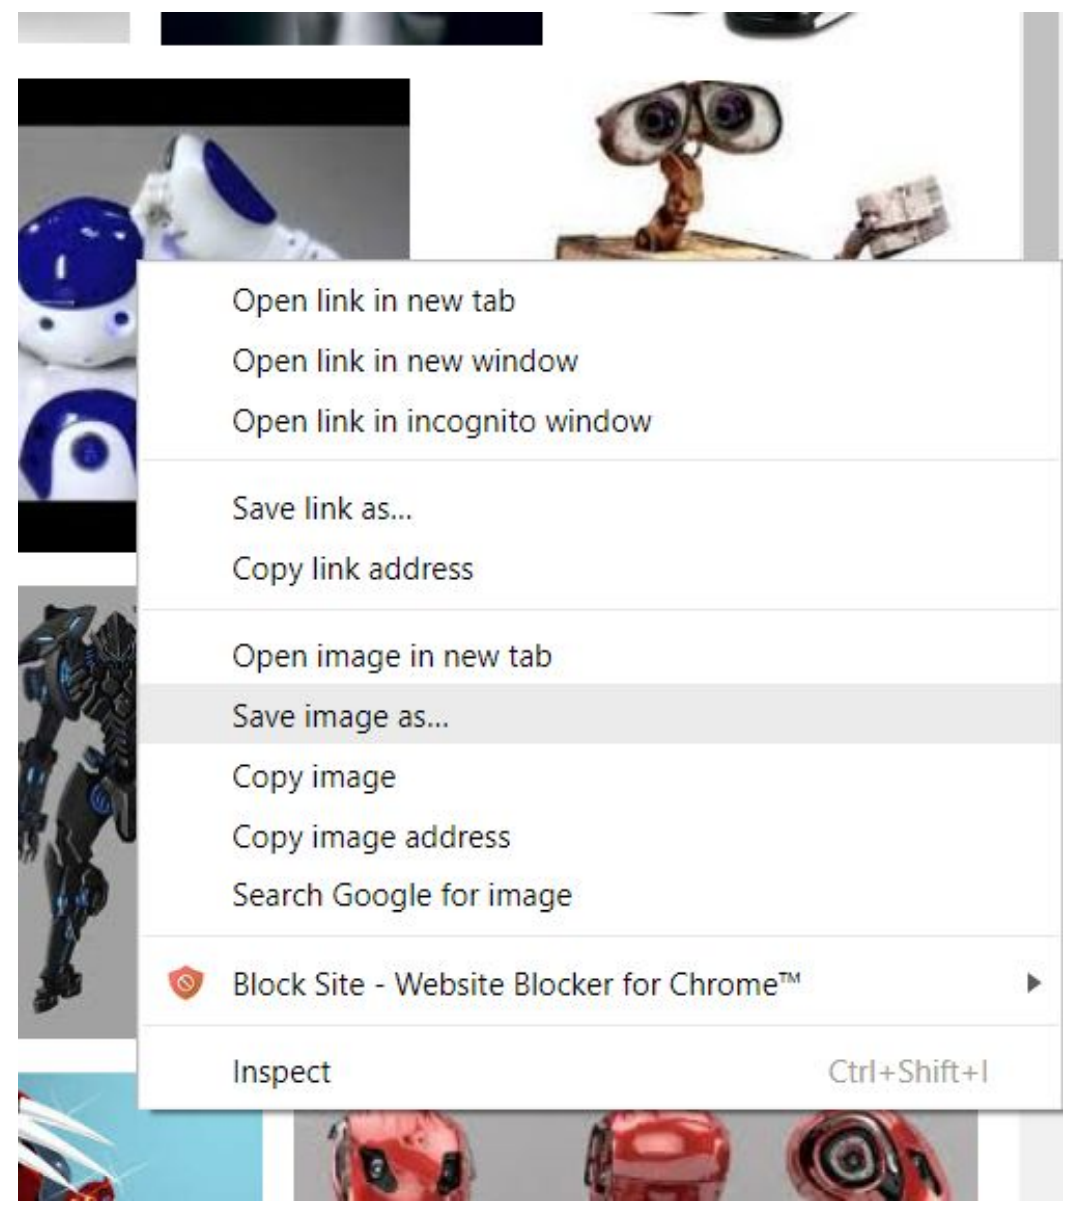
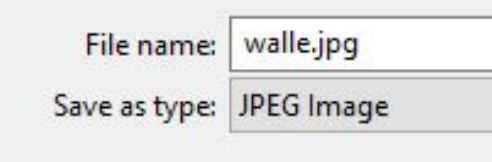
Create a new folder in your website folder called "images" and place your picture in there.
You may need to rename it to something that makes more sense.
<!DOCTYPE html>
<html>
  <head>
    <meta charset="utf-8">
    <title>My Website!</title>
  </head>
  <body>
    <h1>Time to add an image</h1>
    <img src="images/walle.jpg">
  </body>
</html>
Time to add an image

<image> tag allows you to import images in your website. Notice that the src is equal to
"images/walle.jpg"? This is because that the image is stored in a sub-folder of what is called
the "root" folder.
Multi Pages
One page is all fine and dandy, but we want to be able to navigate to other pages on our site! We are going to explore two very common ways that users can move from one page to another.
Links <a>
To start things off, the single most basic way to navigate to another page is the anchor tag.
Links to other sites <a>
Clicking on the link between the <a></a> tags will send your user to another page.
Second Page <a>
Knowing how to move to other websites is all well and good, however, most web developers will have links that will lead to other pages on their own site
Links to other pages on your own site <a>
Go to your project folder, right click and create a new text file and call it "newpage.html".
Edit the newpage with the same rules as the other page, ( , etc).
Edit the index.html page to include an anchor (<a></a>) tag with an href to "newpage.html"
If you open index.html and click on the new link, it should move you to the next page. Did it?
Button <button>
Sometimes an <a> tag seems a bit plain, that is when it can be useful to use a button instead.
<button> with anchor
Almost anything can be turned into a link if you put it inside an anchor tag.
Definitely something that you should play around with.
CSS
We've added text, images, and various other element tags. Yet, our pages still look a bit dull. CSS (Cascading Style Sheets) is used to change the look of your elements. This is done through colors, padding, margins, alignments, and more!
Getting Started
Just like everything else, our CSS file will be separate and linked onto the website. This is done so that the style can be reused between pages
Creating CSS file
In your projects folder, right click and create a new folder called "stylesheet".
In the folder "stylesheet", create a new file called "stylesheet.css".
This will hold all of your style information throughout your entire site! Placing it in it's own file will allow us to use it in every page (as you'll see later).
The Basics
There are so many uses for CSS, the basic of which is text alignment, size, and color
Creating CSS file
Open the stylesheet.css file and add the following code…
Body: Is where most of your code is placed in your HTML file (remember the <body></body> tags?) So altering the "body" element is altering the entirety of your page.
h1/p: The h1 and p element inside your HTML Code
All of these are known as "rules" for your style. The selector is the element you're changing, and the declaration is what is being changed from what you selected.
Connecting the two <link>
The
<link> tag imports external files into our file to be used. In this case, it gives this file the
CSS style. Notice how different it looks?